The Shadowline - Low Profile Tent Mounts
The Shadowline - Low Profile Tent Mounts
Couldn't load pickup availability
The Shadowline — Low-Profile Mounts for Stealthy Rigs
Your rack sits flush. That's the point. You picked a Sherpa, a Prinsu, a TrailRax — something that hugs the roofline so the rig still fits the garage and still looks like a vehicle, not a parade float.
Then you mounted a tent on it. And the gap between the tent and the rack disappeared.
Now reaching the mounting hardware means lying across the roof, peeling skin off your knuckles, and accepting that the tent is staying on this season.
The Shadowline is built for that exact problem. Six low-profile mounts. A grab tool that lets you reach the latches without removing crossbars. Once you set it up, the tent comes off in under a minute.
How It Works
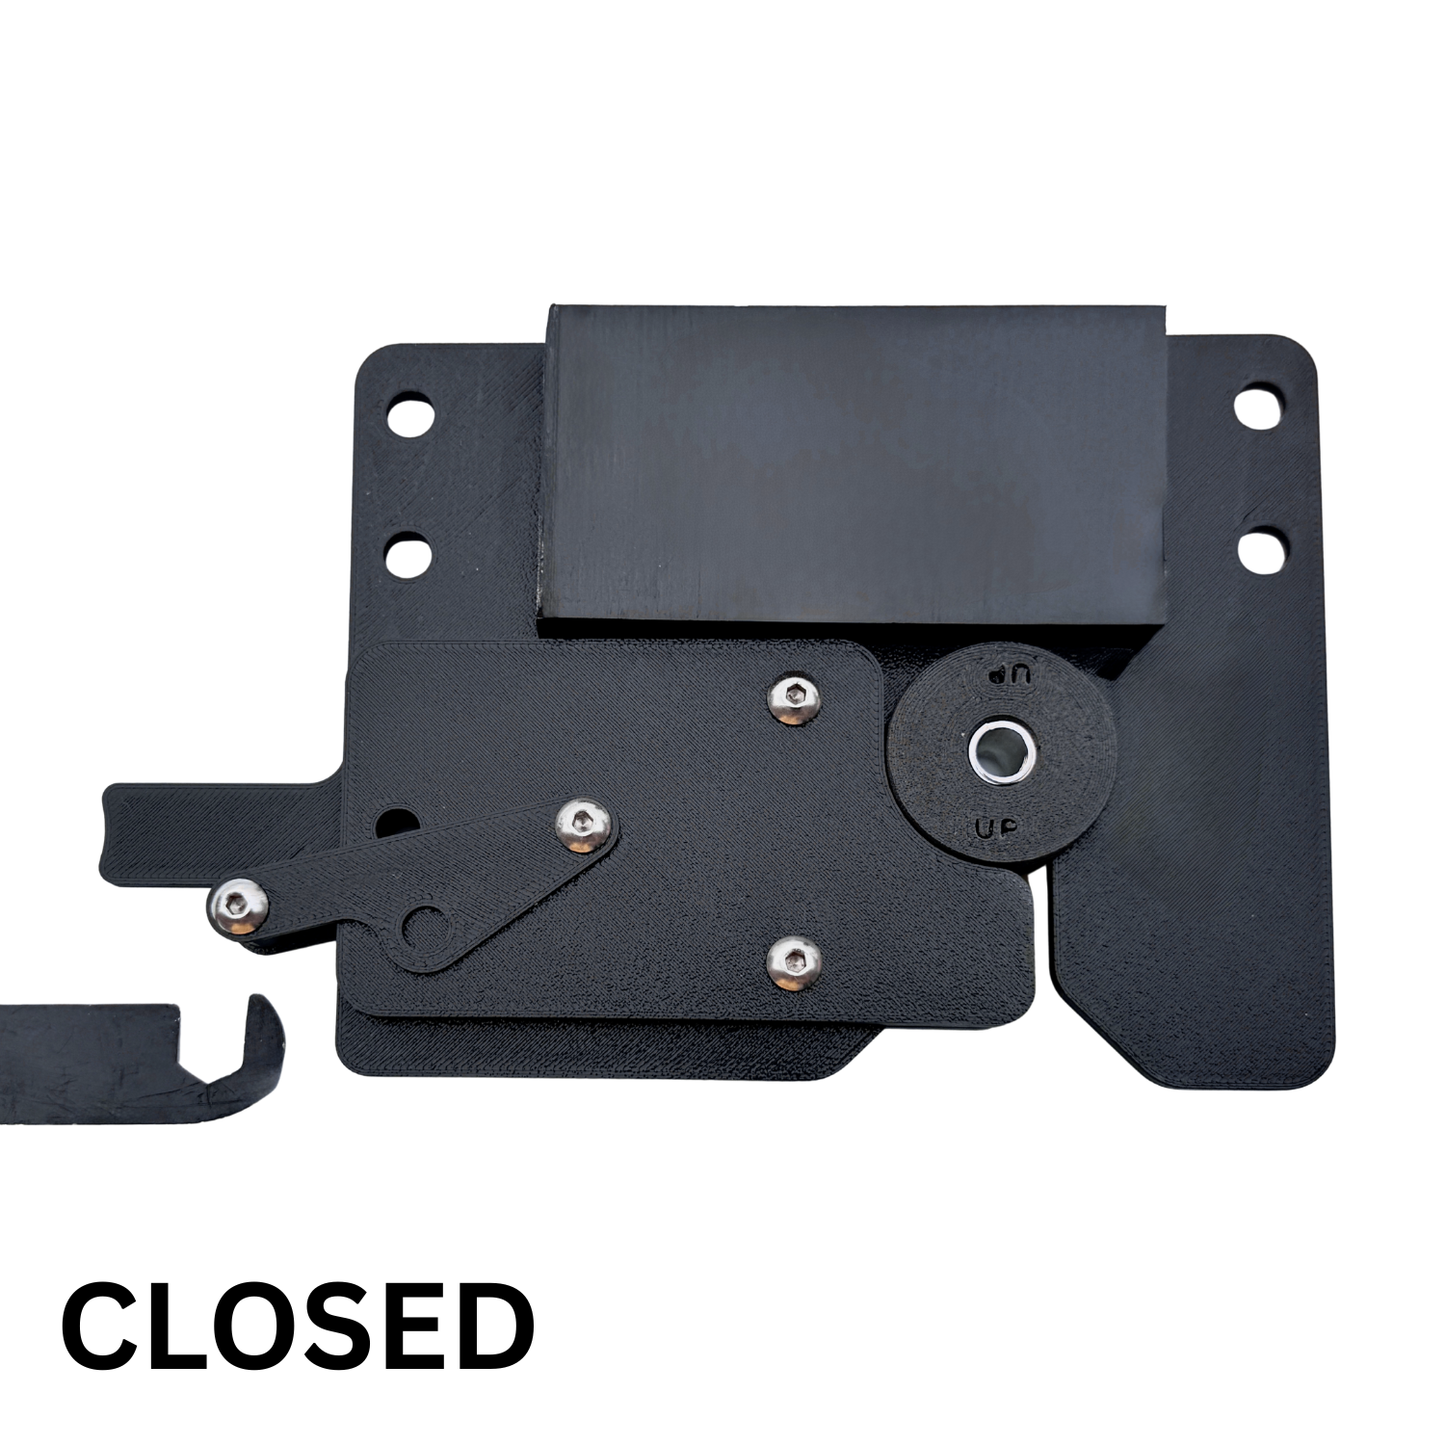
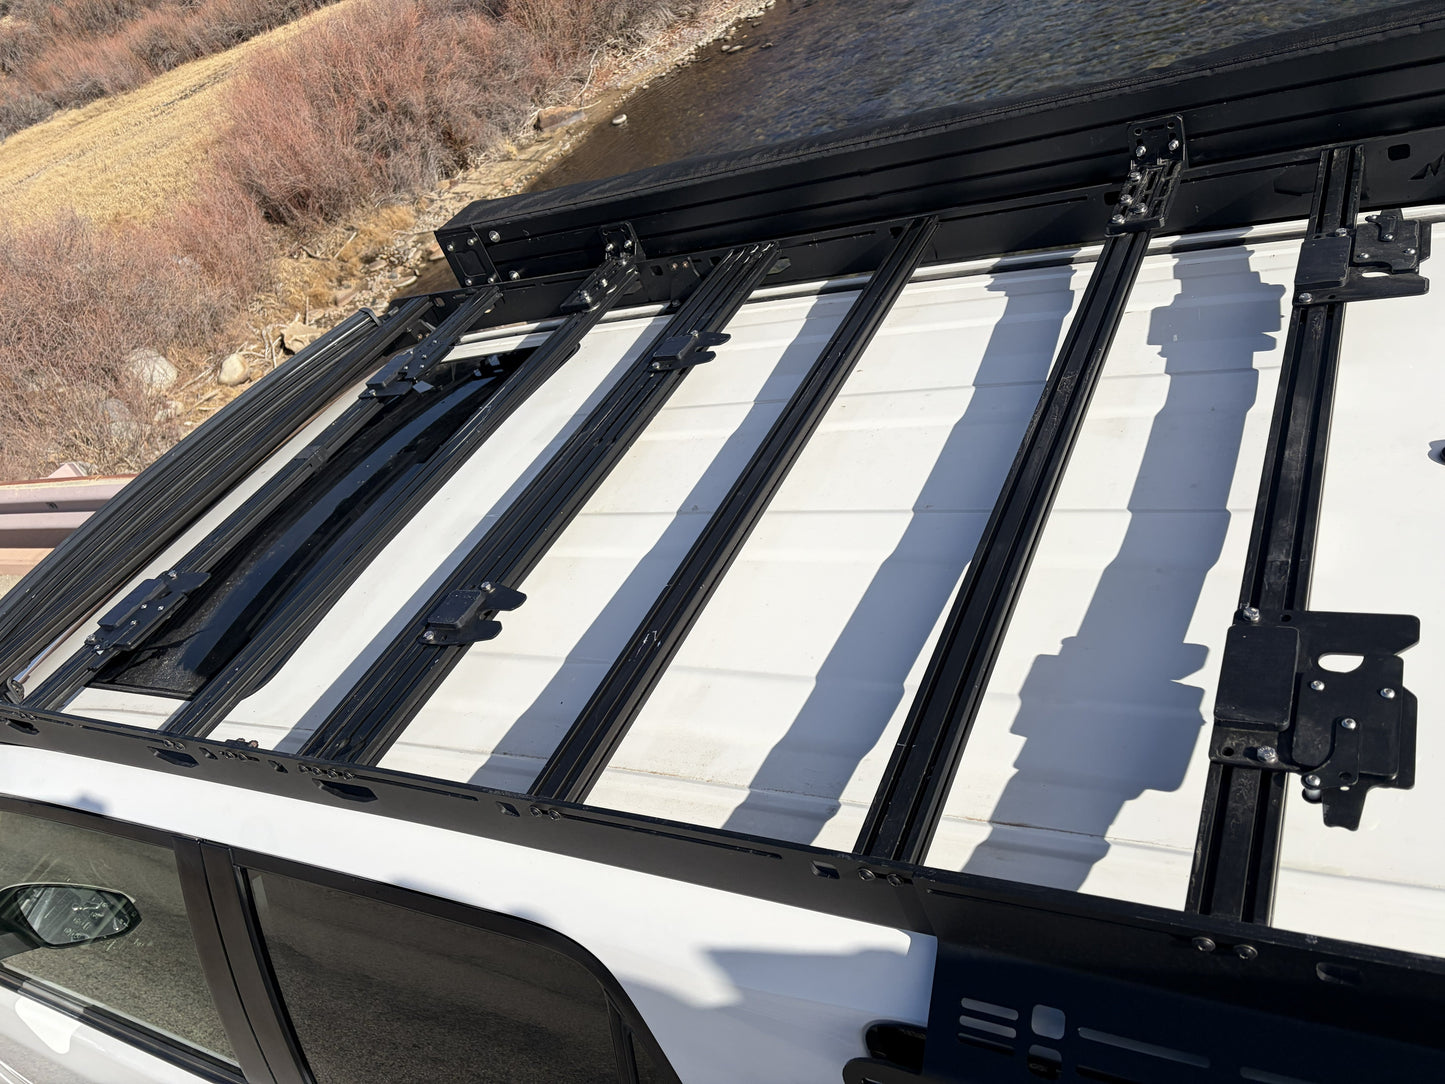
Six tent bushings (the male attachments) attach to your rooftop tent. Six female mounts attach to your roof rack. The front and rear pairs feature sliding latches that secure the bushings in place. The middle pair is passive — once aligned, they hold and stay.
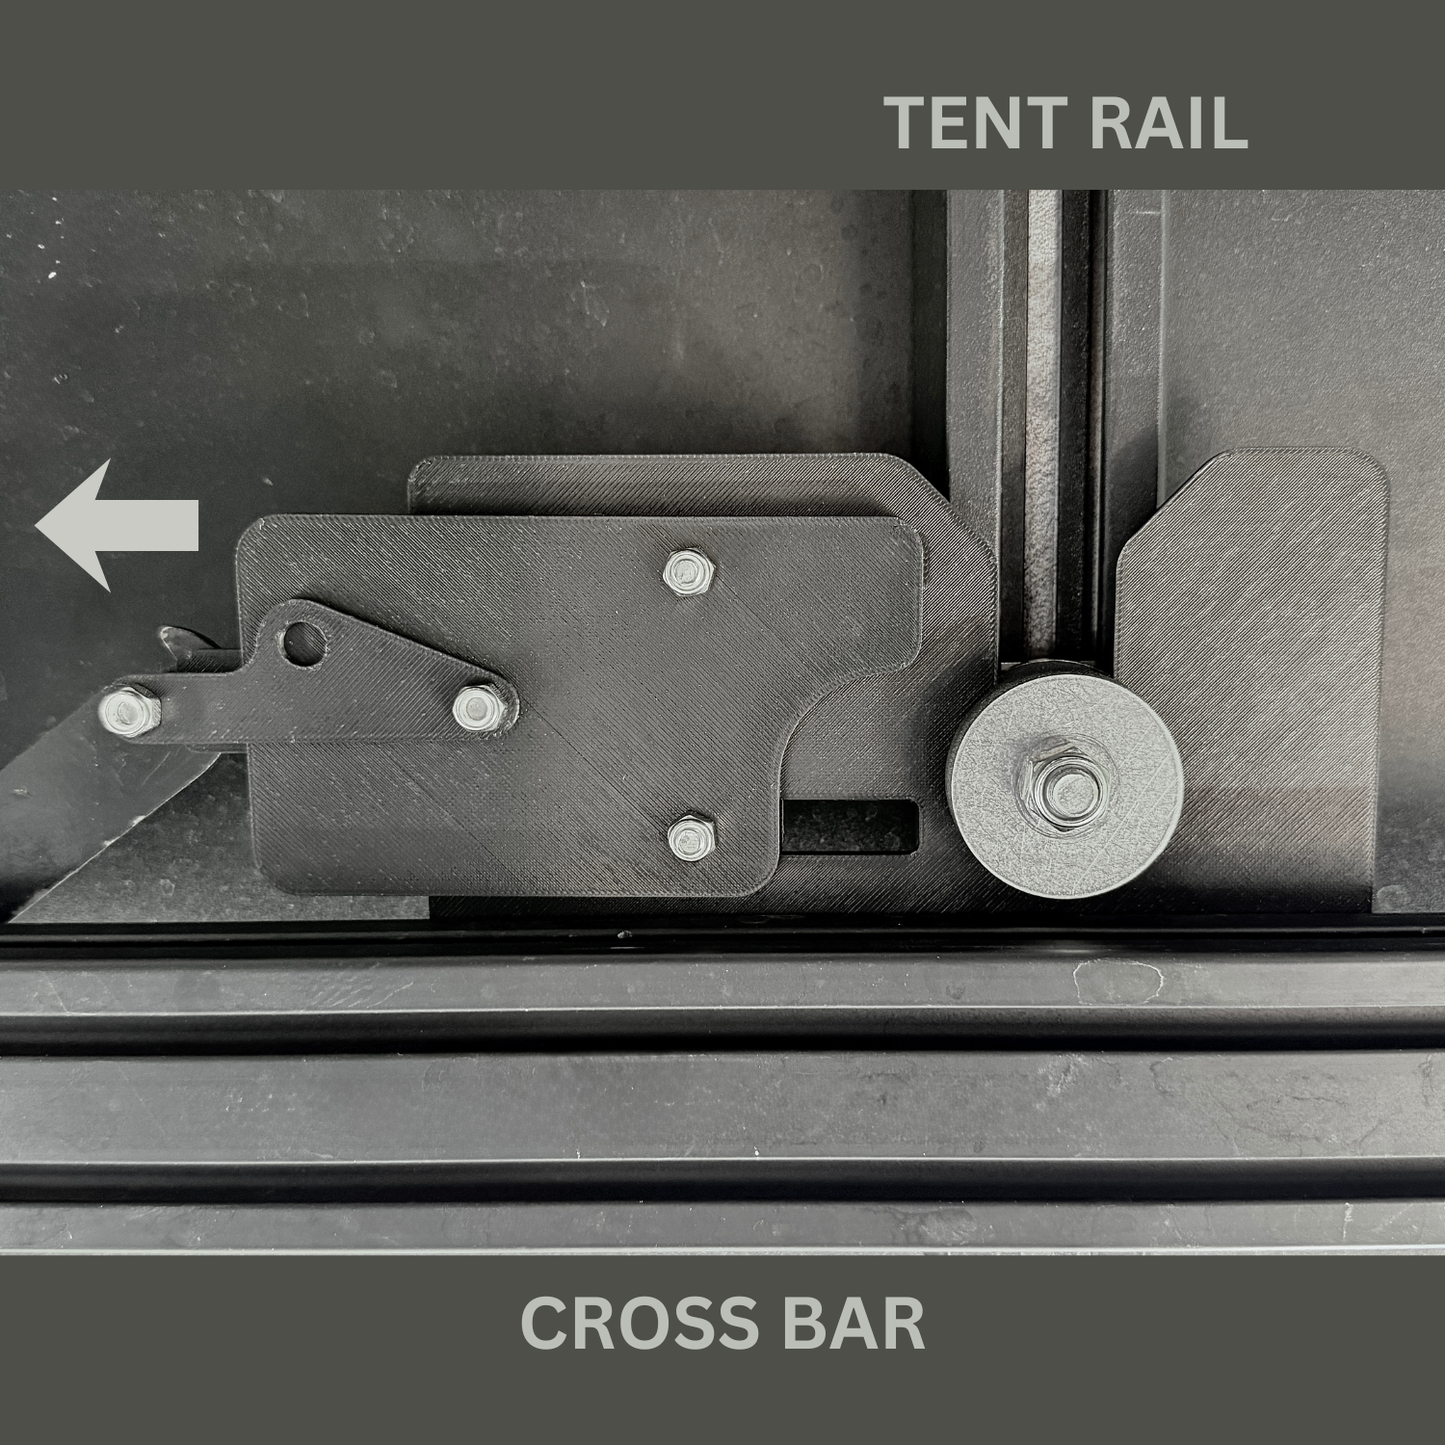
To release: reach in with the supplied grab tool, slide the latches open, slide the tent rearward about four inches, lift it off.
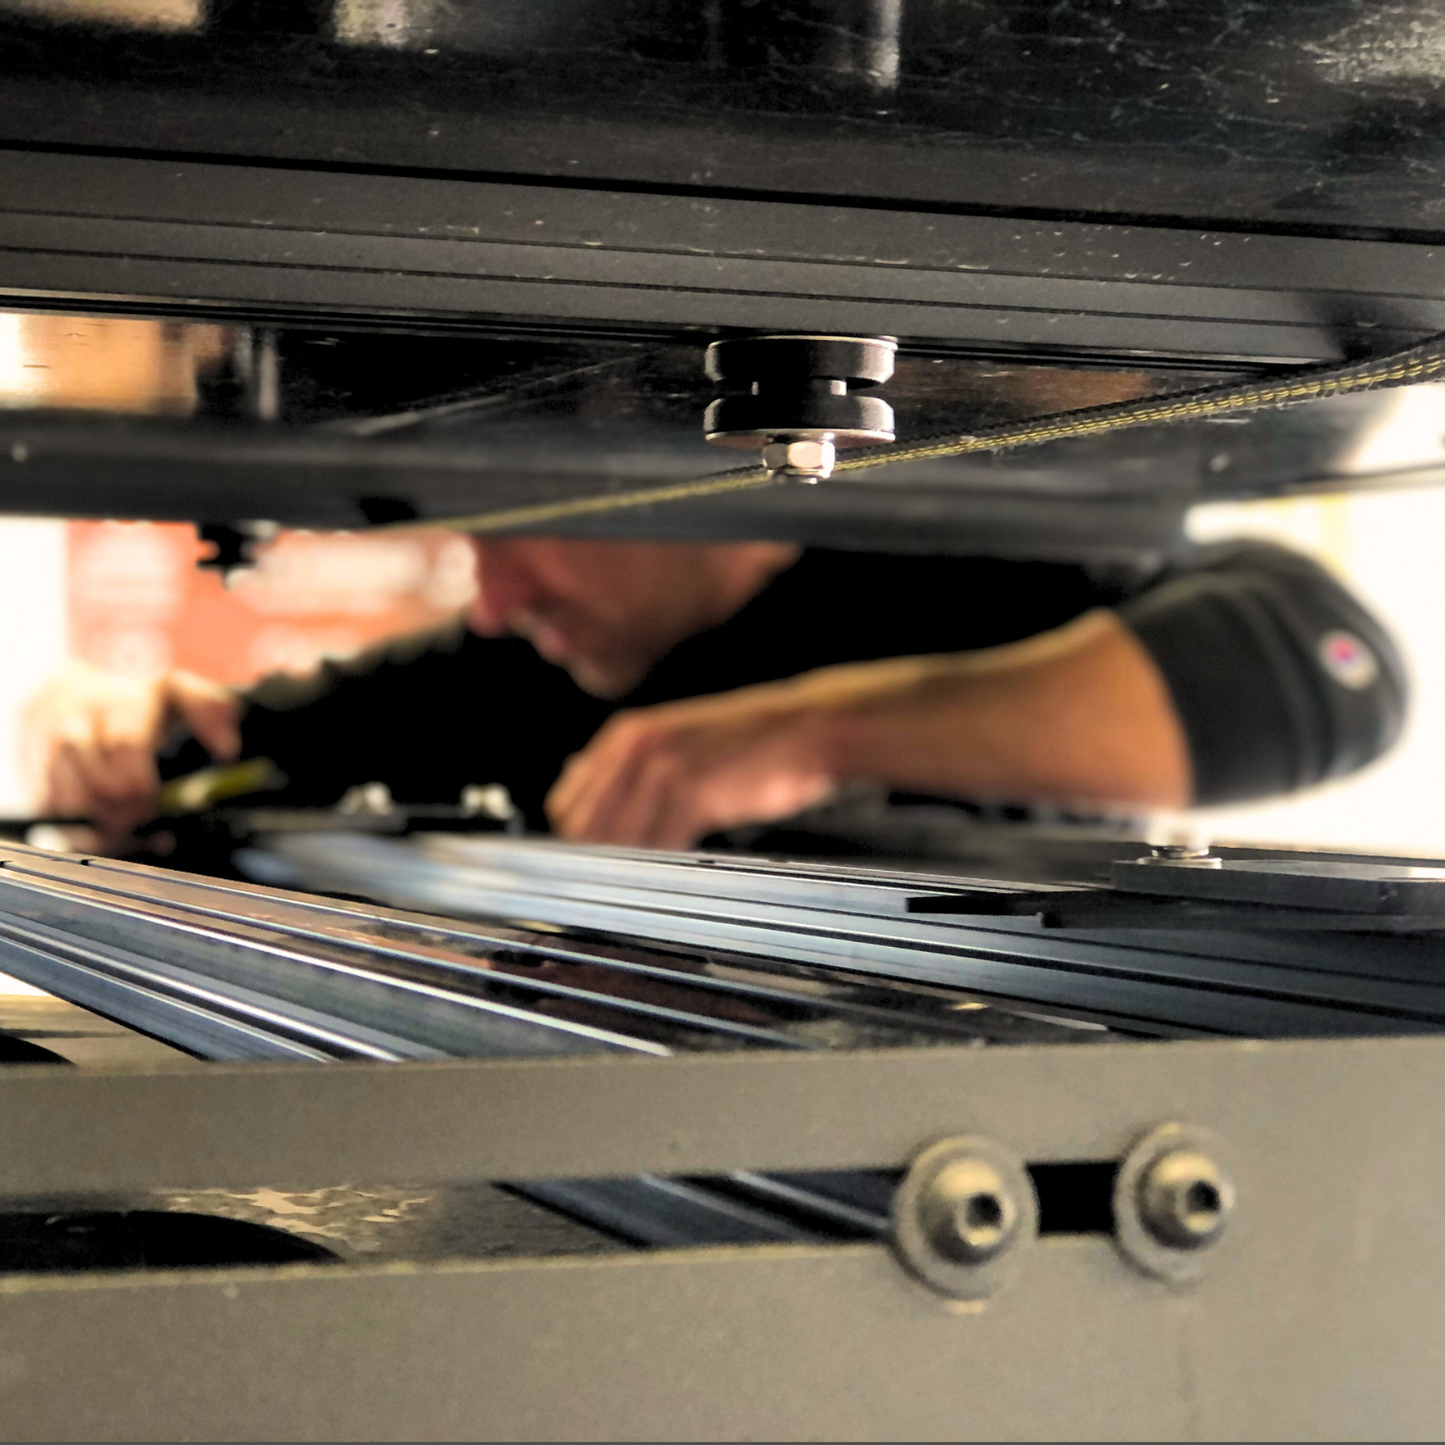
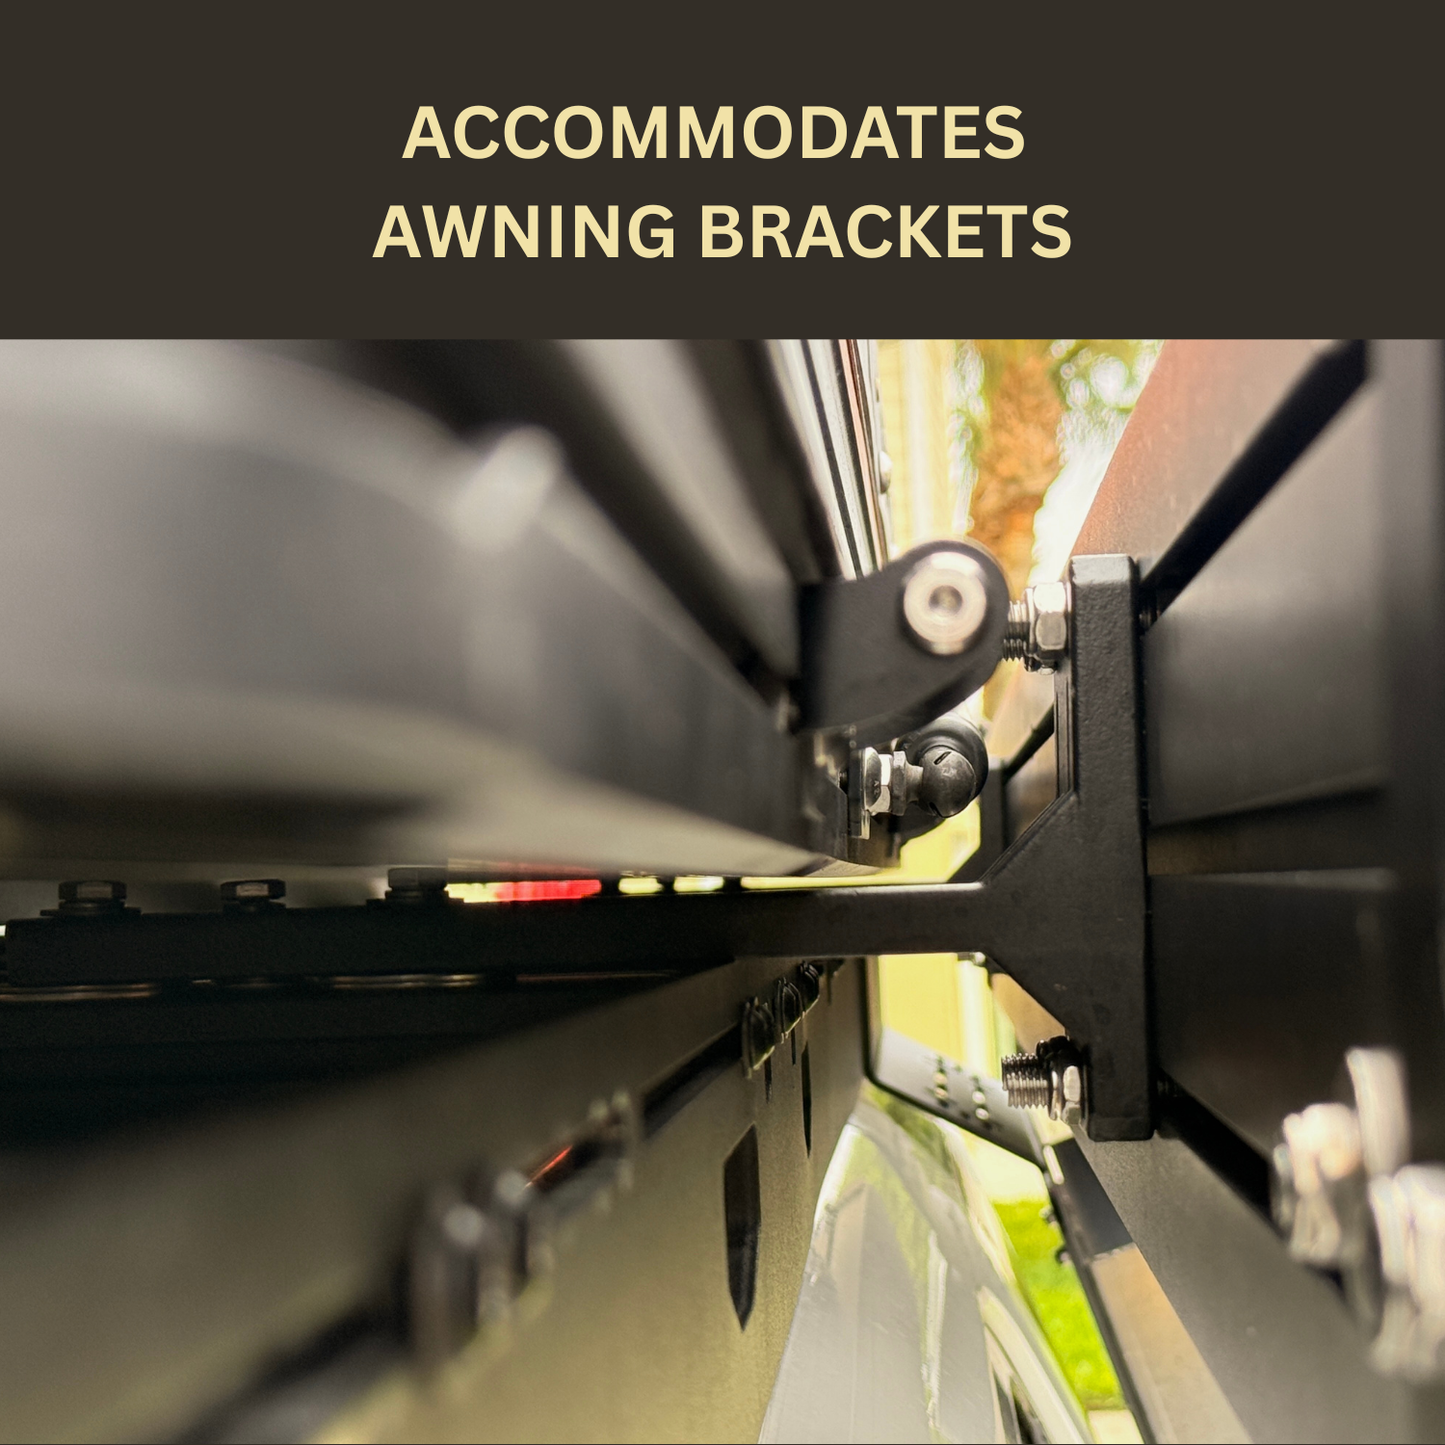
The mounts raise the tent roughly half an inch above the crossbar surface. That clearance is intentional — it keeps awning brackets clear and stops unsupported crossbars from rattling against the tent rails when you're off-pavement.
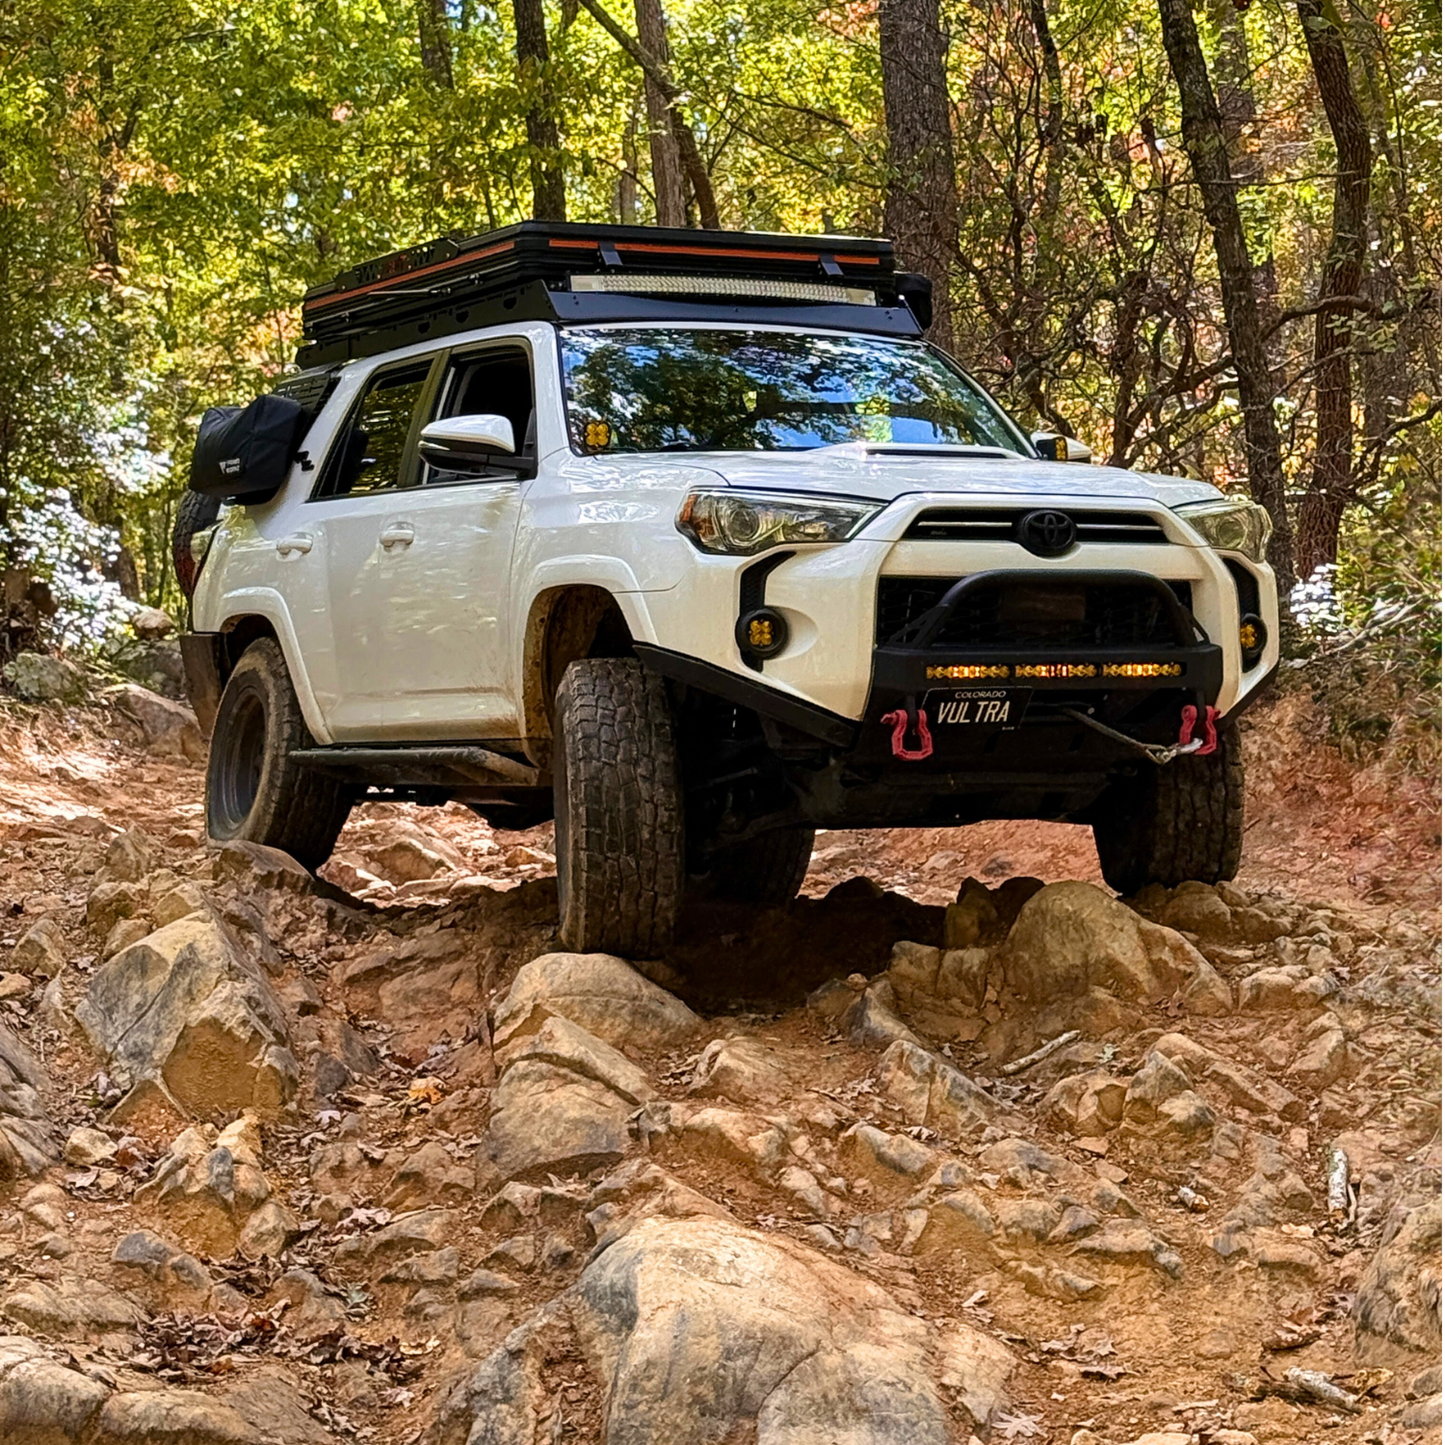
Designed for SUVs and trucks running low-profile roof racks: 4Runners, Broncos, Tacomas, and similar rigs running Sherpa, Prinsu, TrailRax, UpTop, Wescott, and other top-mount platforms.
To Install
- With the tent off the rack, open all four latching mounts (by hand or with the grab tool).
- Place the tent on the rack, centering it so the six tent bushings align with the six vehicle-mounted brackets.
- Slide the tent forward until all six bushings are fully seated.
- Latch all four sliding mounts to lock the bushings in place. The middle pair is passive — once seated, they hold.
- Optional: lock the four latching mounts with 1/4″ locking pins (sold separately).
To Remove
- Remove the optional locking pins, if installed.
- Use the grab tool to release all four sliding latches.
- Slide the tent rearward about four inches. All six bushings disengage.
- Lift the tent vertically off the rack.
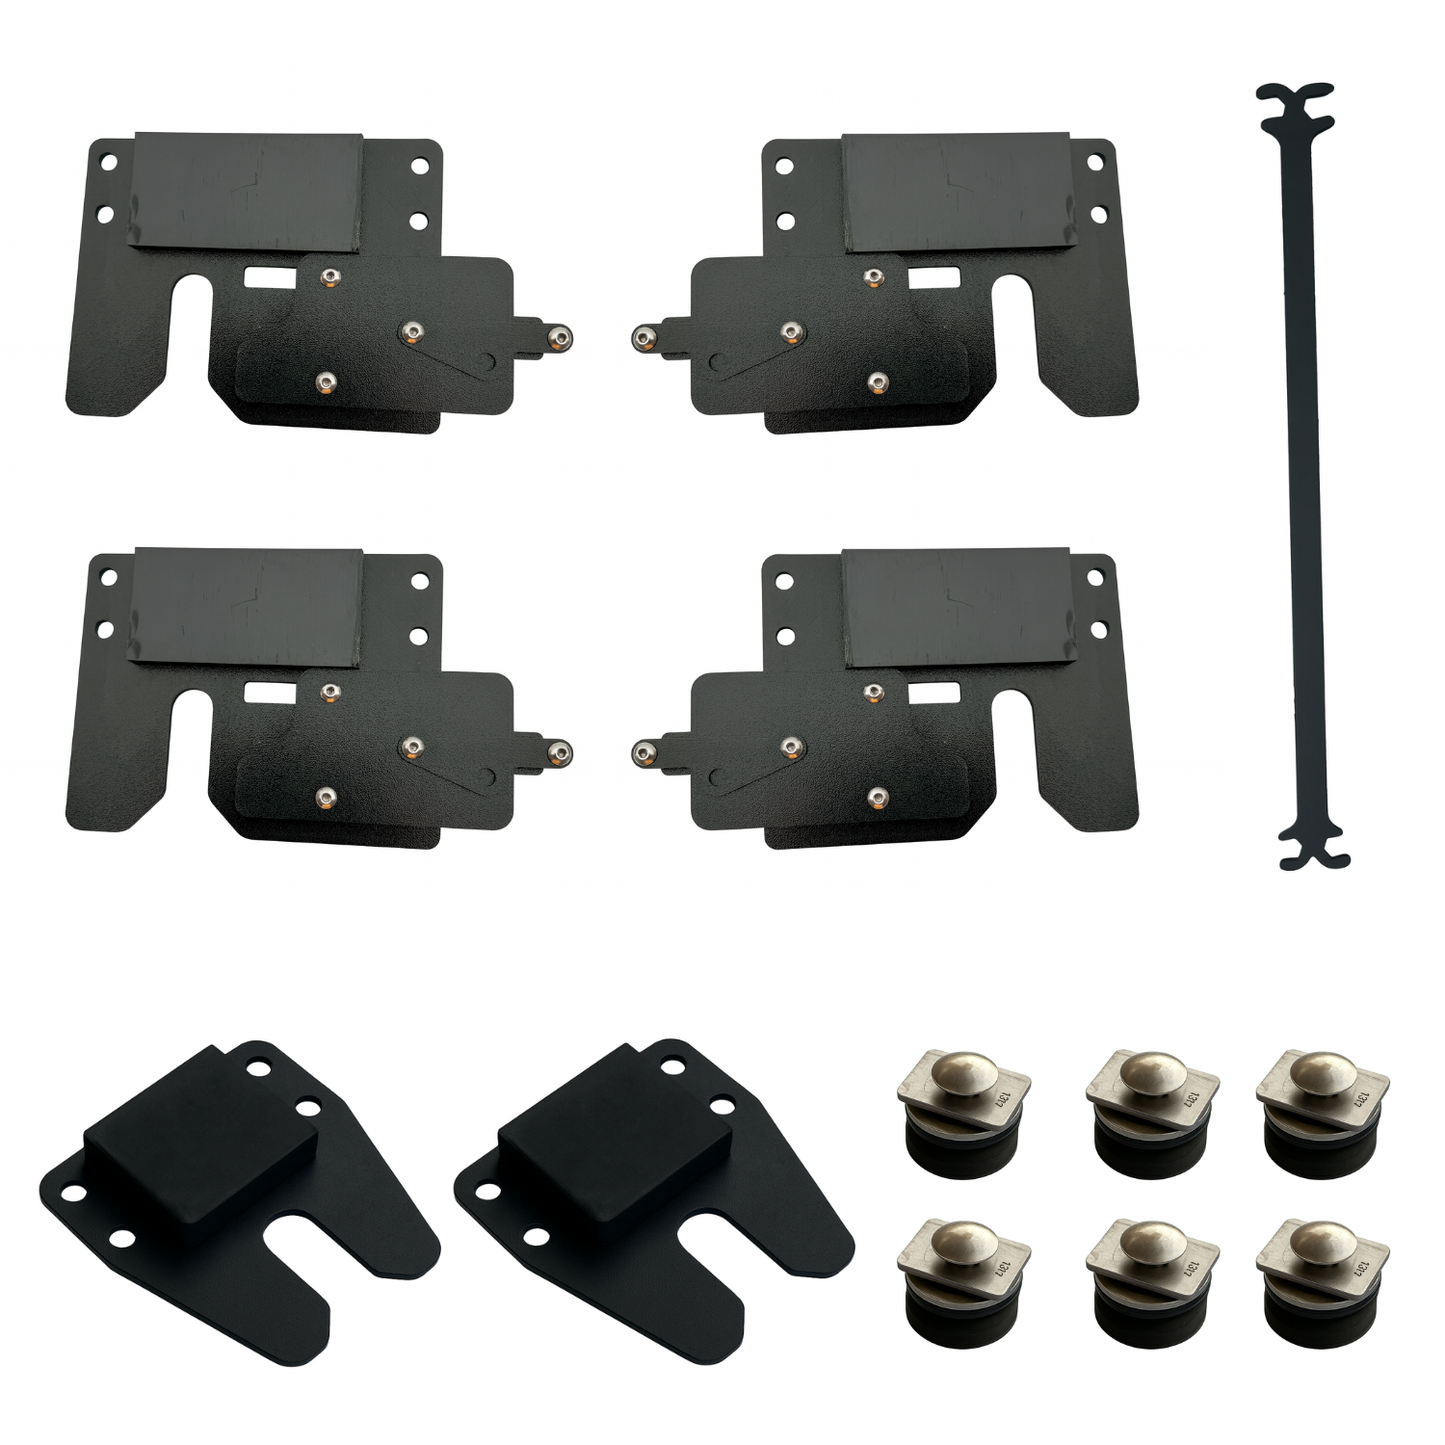
What's Included
- Six female mount assemblies — two front, two middle, two rear (powder-coated 1/8″ 304 stainless steel)
- Six tent bushing assemblies — stay fixed to the tent so no measuring is required after install
- One dual-purpose grab tool — handles both installation and operation
- One stainless steel hardware kit — for attaching the female mounts to the roof rack
Lockable mounts: The four mounts with sliding latches accept 1/4″ locking pins (the same kind used for trailer tongue locks). Lock sold separately if you want it.
Hardware note: The kit ships with 1/4″-20 hardware — the most common roof rack size. Some racks (AluCab, Slimline, Leitner, others) use M8. Sold separately if you need it.
Not compatible with GOBI roof racks or any rack without top-facing mounting channels.
Recognition
A previous iteration of this design was named Best Gear of Overland Expo PNW 2024 by Overland Expo staff.
Installation Disclaimer
The first install is the hardest part. That's not a marketing problem — that's physics. Low-profile racks limit how much room you have between the rack and the tent. Tightening the hardware in tight spots takes patience.
Think of it like changing rear spark plugs on a V8 engine. The first ones go fast. The last ones take a steady hand and a good wrench. The Shadowline is the same: the included long-extended wrench is shaped specifically for those bolts. Use it.
If your vehicle doesn't have a sunroof or removable top, you'll need to remove the front fairing of the rack to reach the front mounts during install.
Set aside the time. Pick a Saturday morning. Cold beverage, decent music, no rush.
Do it once, do it patiently. After that, the tent comes off in under a minute every time. That's the trade.
Compatibility At a Glance
- Roof rack type: low-profile / top-mount channels (Sherpa, Prinsu, TrailRax, UpTop, Wescott, similar)
- Vehicle types: SUVs and trucks with low-profile racks (4Runners, Broncos, similar)
- Tent height: raises ~½″ above crossbar surface (clearance for awning brackets, anti-rattle)
- Hardware included: 1/4″-20; M8 sold separately for AluCab, Slimline, Leitner, etc.
- Lockable: yes — 1/4″ locking pins compatible (lock sold separately)